


Applications For Soundproofing Walls
We work with your contractors to provide complete soundproofing and sound control installations by providing the latest and most technologically advanced acoustical parts and baffles. These high quality acoustical panels are designed to provide the best design to reduce noise levels in a variety of rooms where excess sound is a hindrance to learning or concentration with applications specific to military, courtroom, conference rooms, churches and educational institutions.
Video/Conference Rooms
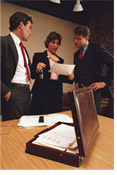 Soundproofing with our acoustical panels will ensure privacy within the conference room or from one room to the next. These state of the art panels provide functional and aesthetical purposes within the workplace environment which improves concentration of meeting budgets, production goals and improving workplace morale.
Soundproofing Churches
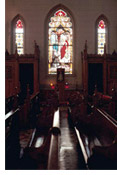 Acoustical wall panels reduce echoes and fluttering in churches by softening the hard surfaces of the walls, providing a better sound control for the worship, singing and preaching. These acoustical panels make it easier for the sound booth people to adjust microphone levels.
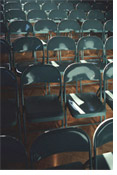
Soundproofing for Auditorium, Gym, Music and Band Rooms in Schools
 Reduce the reverberating noises with acoustical wall panels, diffusers and baffles that are mounted on the wall covered in fabric and finished for a professional clean look, showing pride in the school and teams.
Restaurant Sound Control
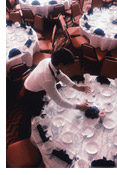 Acoustical panels can be utilized to improve noise reduction and speech privacy and private and interior finish painted or fabric.
Noise Control in Court Rooms
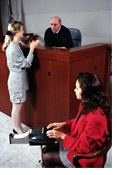 Control the noise levels in court rooms with acoustical treated interior walls these provide superior sound control for difficult areas to work in. These interior walls will make court reporting and other administrative functions easier by reducing excess sounds from outside the courtroom so the defense, prosecution and jury can focus on the cases being judged.
Government and Military Applications
 Use these acoustical panels for computer rooms, classrooms and video- conference rooms that are precision designed to reduce outside noise interruptions. These can be adjusted easily to conform to different areas and color schemes to fit in with the environment. Secure and efficient, acoustical panels will make briefings easier while remaining within budget constraints.
Conference Rooms
 When sound reduction is required it can be achieved with APS acoustical panels and diffuser panels to provide an interactive room.
Home Theater Acoustics
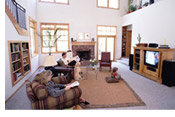 Acoustical wall panels can be used for low frequency rooms and tune a room within the correct decibel level.
Sound Control in Industrial Plants
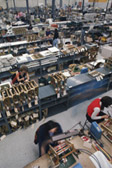 When decibel level is an issue the APS panel is a ideal solution for reverberation and noise control on plant floors and high traffic areas.
